
 USD
USD

How To Install & Remove Tape In Hair Extensions
Posted by Santana Fell on Feb 21, 2025
Get insane hair growth in minutes with this 1 product!
Are you ready to transform your hair game without the long-term commitment of bad haircuts and chemical-laden hair colors? Say hello to beautiful tape in human hair extensions—the ultimate solution for anyone craving luscious length and voluminous locks!
Getting effortlessly beautiful, flowing strands is no longer a far-fetched dream. With their easy installation and removal, tape in human hair extensions are quickly becoming the go-to choice for hair and beauty enthusiasts.
Let's show you how easy it is to use these fantastic hair extensions made from Remy human hair. They blend seamlessly with your natural hair, giving you envy-worthy tresses, elevating your style, and turning heads wherever you go!
What Are Tape-In Hair Extensions?
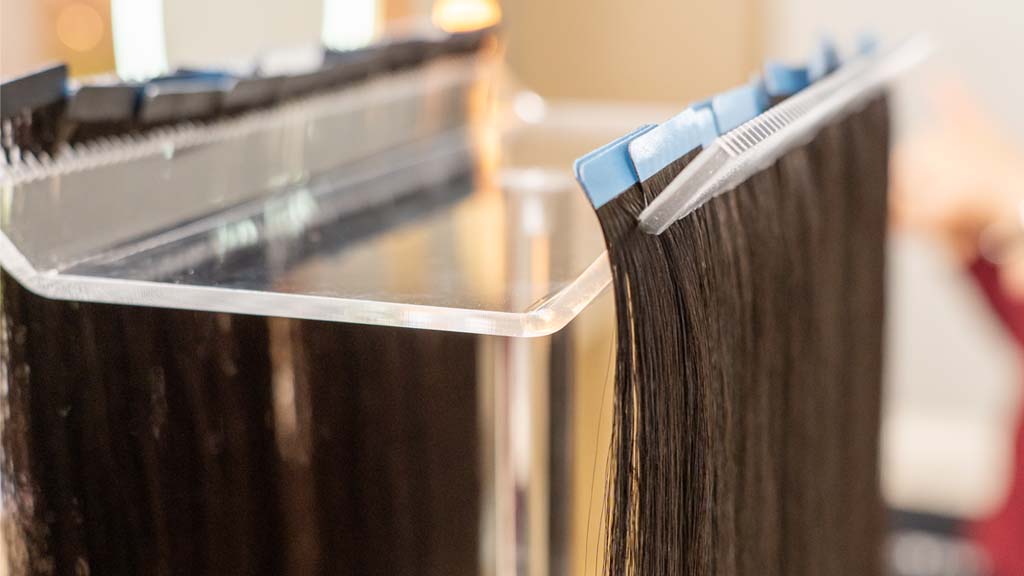
Tape-in hair extensions are made from high-quality human hair and come with adhesive tape at the top of each extension. They are applied by sandwiching your natural hair between two extensions, creating a seamless and natural look. With proper care, they can last several weeks before needing reapplication, making them budget-friendly and long-lasting.
Tape in hair extensions are semi-permanent extensions available in various textures, colors, and lengths, allowing you to customize your look effortlessly.
At Superhairpieces, we offer high-quality 100% Remy tape in human hair extensions that blend perfectly with your natural locks. These extensions give you voluminous, lengthy, healthy-looking tresses that elevate your appearance while instantly boosting your confidence and style.
How long do tape in extensions last?
Superhairpieces tape-in hair extensions typically last between 3 to 12 months (4A hair has a lifespan of 3-6 months, 5A hair has a lifespan of 4-12 months).
Our tape-in hair extensions come in 20 pieces (10 sandwiches), with each pack weighing 50 grams. We recommend two to three packs for a full installation.
Follow the steps to apply and remove tape-in extensions for best results:
How To Install Tape-In Extensions?
If you are a beginner or first-time tape in hair extension user, we highly recommend going to a professional stylist to attach the human hair extensions to your natural hair for the best look.
However, if you are a pro at using hair extensions, with a little effort, you can install tape-ins by yourself.
Materials Needed:
- Superhairpieces Tape-in hair extensions
- Hairbrush
- Tail comb or sectioning clips
- Isopropyl alcohol (for cleaning)
- Hair straightener (optional)
- Hair spray (for added hold) (optional)
1. Preparation: It is always best to begin the tape-in extension installation process with clean, dry hair. Wash your hair 24 hours before applying the extensions to remove any product buildup. Avoid using heavy conditioners or oils to keep the adhesive clean and secure.
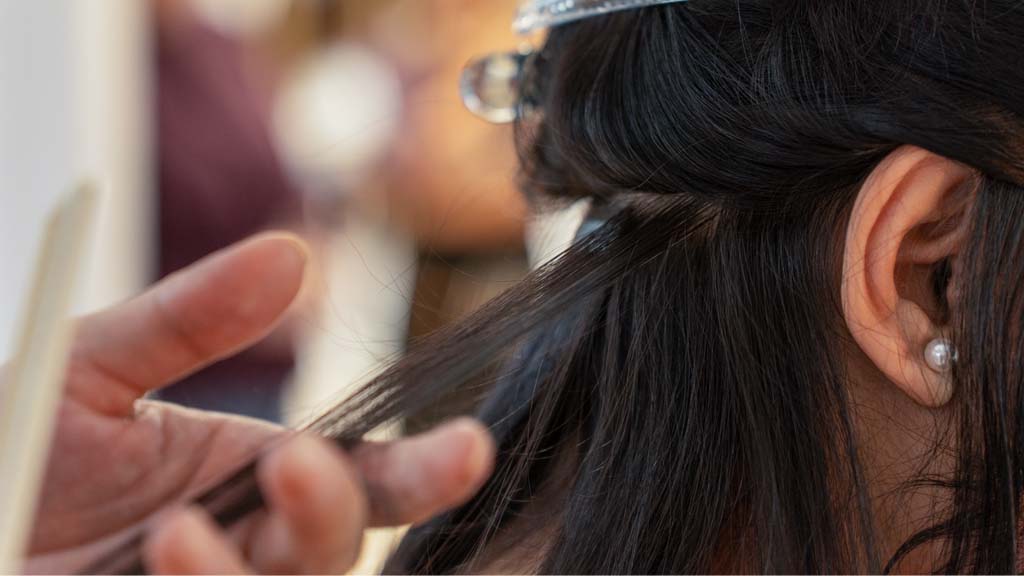
2. Section Your Hair: To install tape-in extensions, first section your hair and create a horizontal part. Sectioning the hair makes the application process easier and faster. Use a tail comb or sectioning clips to create partings about 1-2 inches from the nape of your neck.
3. Clean the Area: Wipe the section where the tape extensions will be applied with a cotton pad soaked in isopropyl alcohol. This will remove any oils, products, or dirt buildup and ensure better adhesion.
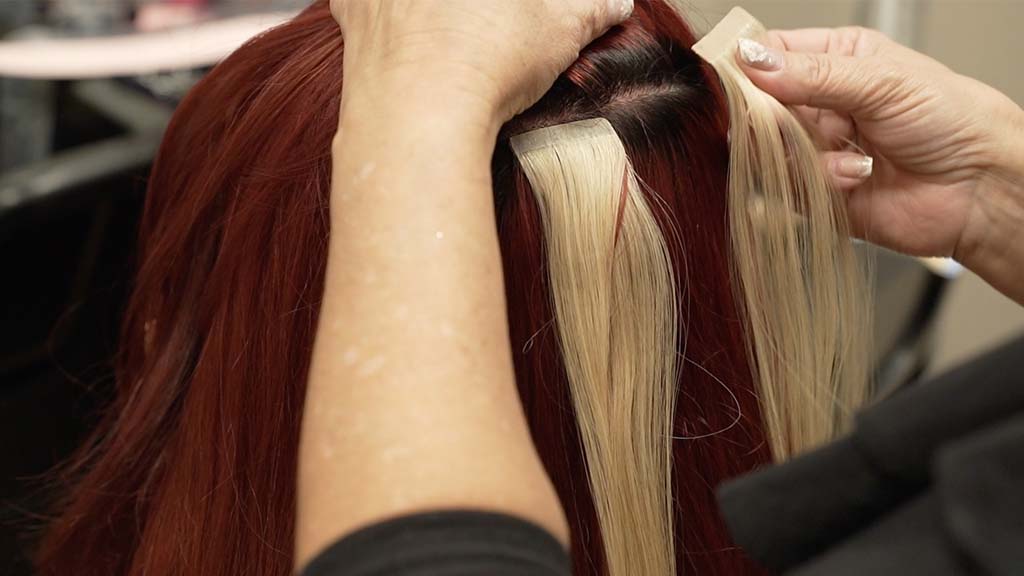
4. Apply the Extensions: Tape in human hair extensions come in sandwiches, so 20 pieces will be 10 sandwiches. Remember, you must sandwich your natural hair between these pieces to get a seamlessly blended look.
How to do it: Take one set or sandwich of tape-in extension and carefully peel off the backing. Place the extension under your natural hair, then take a second extension and peel off its backing. Sandwich your natural hair between the two extensions, ensuring they align neatly. Press firmly to secure them together.
Tip: Leave a little space (half an inch or less) for the roots to breathe. Place your tape-in extension slightly below the roots, allowing space for you to lift the extensions up or down without pulling at the scalp. Having said so, some people prefer getting the tape-ins attached from the roots, so do what works best for you.
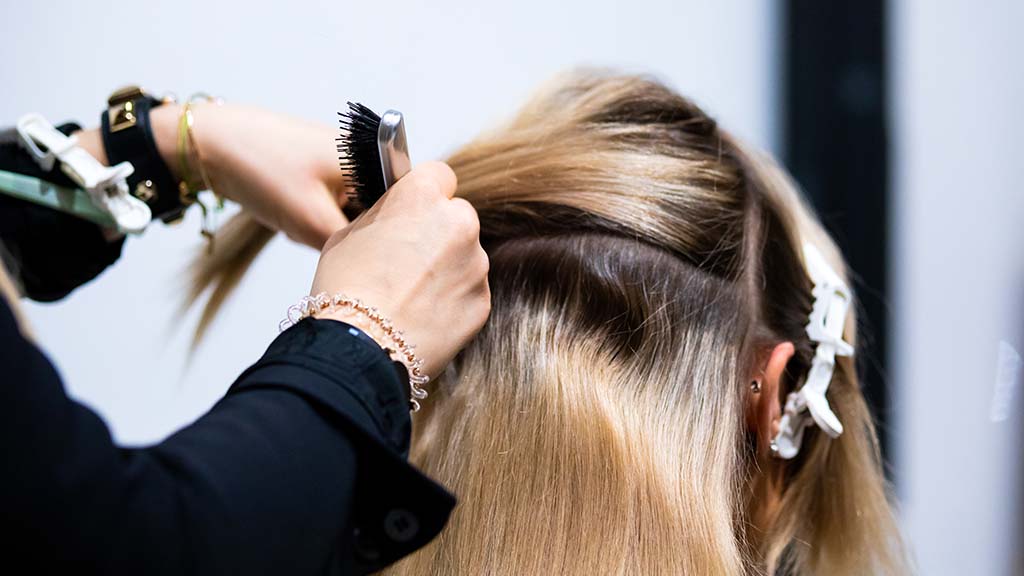
5. Repeat the Process: Continue sectioning and applying the extensions, working your way up to almost the crown of your head. Repeat until all extensions are placed, ensuring they are evenly spaced to create a more natural look.
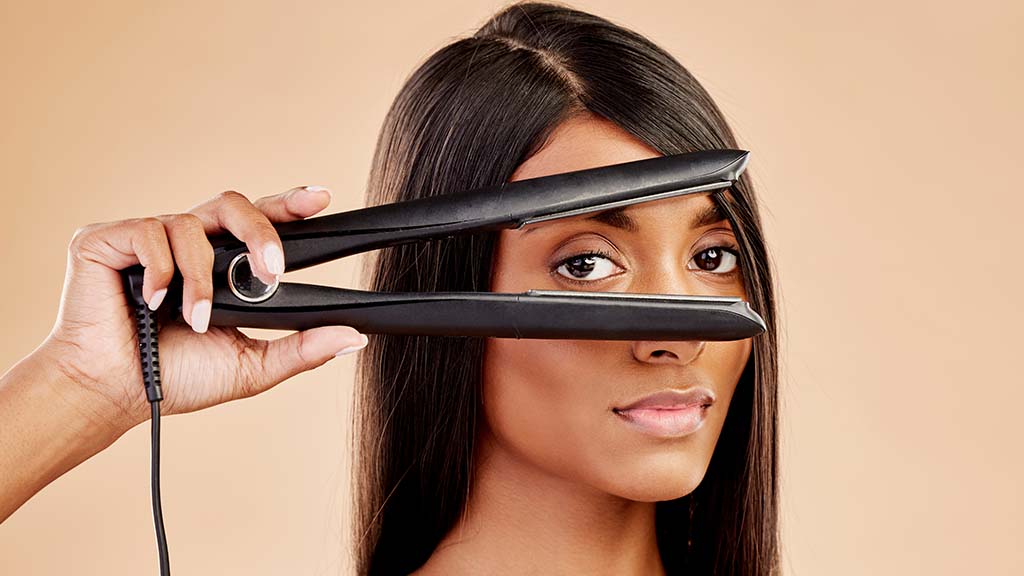
6. Style as Desired: Once installed, you can style your hair extensions as you would your natural hair. A flat iron can help blend your natural hair with the extensions for a seamless finish. However, remember, too much heat styling is not suitable for your natural hair or extensions.
Now that we’ve covered how to install tape-in human hair extensions and how long they last let’s discuss a crucial part of their lifecycle—removal. Knowing how to remove tape-in extensions properly can help prevent damage to your natural hair.
How To Remove Tape-In Hair Extensions?
Removing tape-in hair extensions can be tricky if not done correctly. Here are some stylists' recommendations for simple, safe, and effective removal at home to remove even the most stubborn tapes without damaging your tresses.
Note: You can remove tape-in extensions at home, but if you’re unsure or want to avoid any damage, consider having a professional do it.
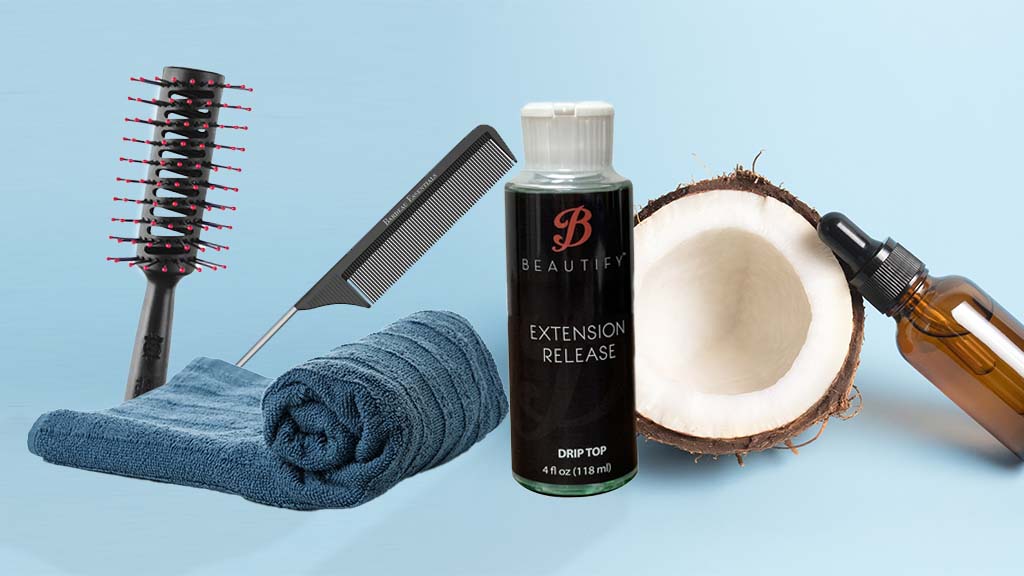
Materials Needed:
- Tape-in extension remover solution (or baby oil or coconut oil)
- Cotton pads
- Tail comb
- Hairbrush
- Towels
1. Preparation: Start with clean, dry hair.
2. Section the Hair: Start by sectioning your hair to keep it organized. Use clips to hold back your natural hair, allowing you easy access to the tape-in extensions.
3. Apply Remover: Spray on an oil-based bond remover or adhesive remover like C-22, KP Pro Solvent, or Weft Release Solvent Remover on the attachment area. Alternatively, you can use cotton balls soaked in baby oil or coconut oil to safely remove tape in hair extensions. Apply the remover to the attachment area, saturating it well to break down the adhesive.
4. Let It Sit: Allow the solvent or adhesive remover to sit for a few minutes. This step is crucial as it helps loosen the adhesive and break the bond completely, disintegrating it and making cleaning all the residue on the hair easier.
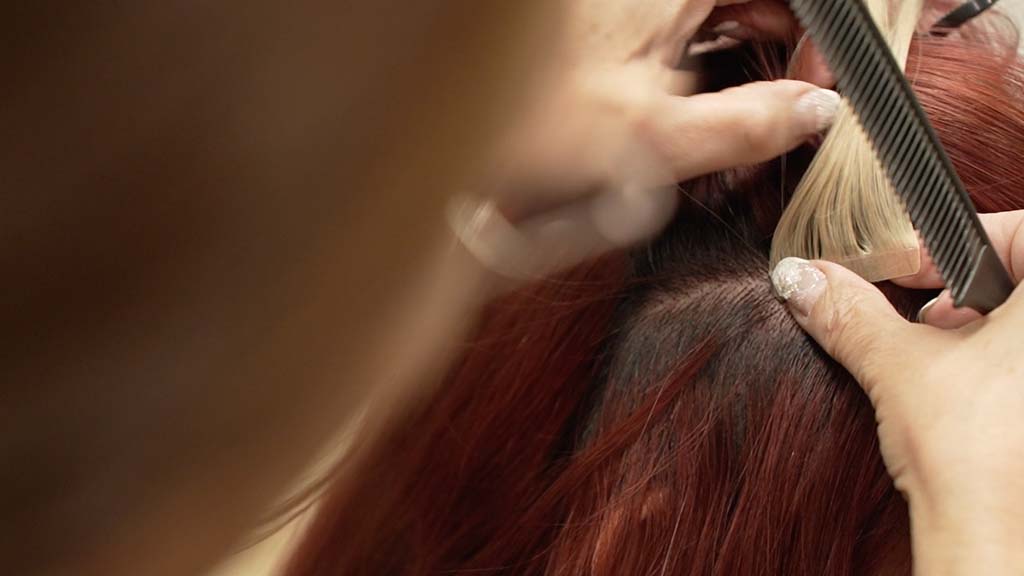
5. Gently Remove the Extensions: Slowly peel the tape in human hair extensions apart, being careful not to pull on your natural hair. Using a tail comb, gently slide it between your natural hair and the tape-in extension, brushing your hair several times to remove it from your natural hair. Carefully pull the extension away from your hair. Do not tug or pull forcefully; this can cause damage, bald spots, and hair shedding if handled roughly.
6. Clean Residue: If any adhesive is left on your natural hair, use more remover and a cotton pad to clean it off gently. Keep repeating this process until all the adhesive from the tape has been removed from your hair.
7. Treat Your Hair: After removal, wash your hair thoroughly with wig-friendly shampoo and conditioner to remove any residue from the oily remover solution. Consider giving your natural hair some extra love. A nourishing hair mask or deep conditioning treatment can help restore moisture and protect your hair.
Tips for Maintenance
- Avoid Heat on the Tape: When styling your hair, try to keep heat away from the tape area to prolong the bond life.
- Use Sulfate-Free Shampoo: This helps prevent the adhesive from breaking down prematurely.
- Don’t use conditioner or serum near your roots: Moisturizing the attachment area is a big no-no. It will cause the extensions to slip and fall off.
- Reapply Every 6-8 W eeks: Tape-in extensions can be reapplied once the old adhesive is removed. However, this is a whole different process from the initial attachment since you no longer have the tapes on the hair, so you would need to replace the tape for the reattachment.
When to Relift or Re-tape Tape In Hair Extensions
One of the advantages of tape-in hair extensions is their ability to be reused multiple times. This works perfectly for people who want to maximize the use of their hair extensions. It is literally value for money!
As your natural hair grows, the extensions may need to be repositioned or re-taped to maintain that seamless look. Typically, tape-in extensions should be re-tapped every 4 to 6 weeks. This maintenance helps prevent the extensions from weighing down and pulling on your natural hair. Once the tape starts to loosen or the extensions become uneven, it’s time for a re-tape.
Benefits of Regular Maintenance:
Maintaining a regular maintenance cycle is crucial to keeping your tape-in extensions looking fabulous. Properly removing, cleaning, and re-taping extensions as scheduled helps prolong their life. You can often re-apply the same extensions multiple times throughout the year, especially if you invest in higher-quality options like 5A or 6A hair.
Failing to maintain the extensions properly can lead to difficult removal processes. Leaving tape-in extensions in longer than recommended can cause a significant buildup of adhesive, making it more challenging to remove and potentially damaging your hair.
Factors to Consider When Buying
1. Quality Rating: Extensions are commonly rated on a quality scale, from 3A (lower quality) to 6A (highest quality). Choosing a higher-grade product will generally give better longevity and a more natural appearance.
2. Color Match: Ensure you choose a color matching your natural hair so the extensions blend flawlessly. Superhairpieces offers ombre and dark-root options to provide even more versatility.
3. Amount Needed: For a full installation, you typically need two to three packs of tape-in extensions, each containing 20 pieces (10 sandwiches). Proper consultation with a stylist can help determine the amount required for your desired look.
Choosing the Right Quality of Tape-In Human Hair Extensions
When selecting tape-in extensions, opting for high-quality options like those from Superhairpieces is crucial for both appearance and durability. Look for tape-in human hair extensions that are made from 100% Remy hair, as this ensures that the cuticles are aligned in the same direction. This alignment helps prevent tangling and matting, giving the hair a natural look and feel.
Superhairpieces has the best hair extensions and is one of the top hair extension brands.
Read: Top 10 Best Hair Extension Brands
Tape-in hair extensions are a fabulous way to switch up your hairstyle without a long-term commitment. With a bit of practice, you can easily install and remove them at home, giving you the flexibility to enjoy longer and fuller hair whenever you desire. Always remember to prioritize the health of your natural hair during the process.
Try out our Tape In hair extensions for great hair days! Happy styling!

 Likes
Likes


