
 USD
USD

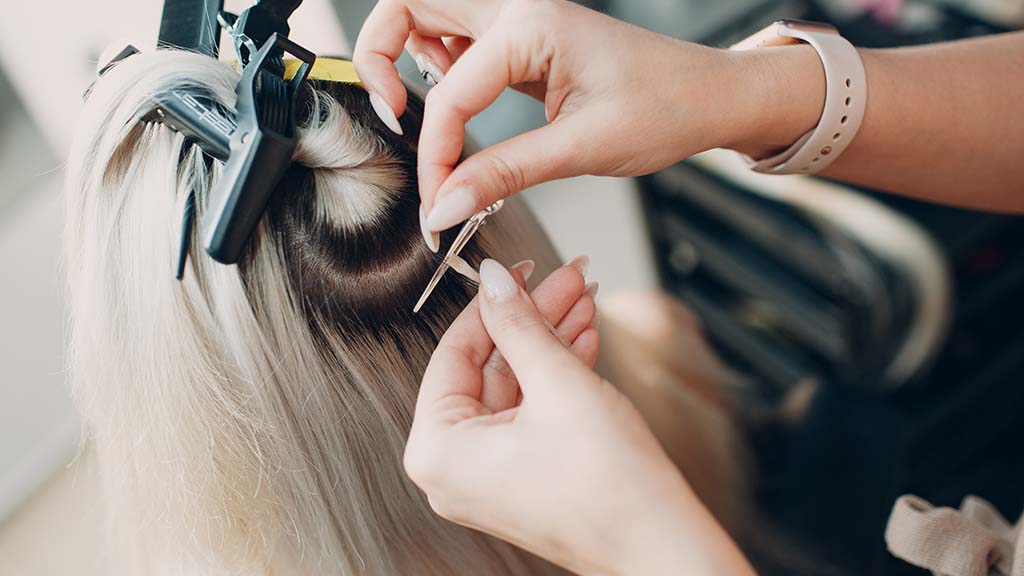
How To Re-Apply Tape In Hair Extensions
Posted by Santana Fell on Feb 24, 2025
Are you ready to give your hair a fabulous makeover?
Tape-in hair extensions are the perfect solution for adding length and volume while allowing you to switch up your style in no time. But what happens when those extensions start to grow out or lose their grip after 4-6 weeks?
It's simple! Just re-apply them.
Tape-in human hair extensions are reusable, which makes them a convenient and budget-friendly solution for anyone looking for long, lustrous hair.
Re-applying tape-in extensions is easier than you may think and can have you rocking your luscious locks in a flash.
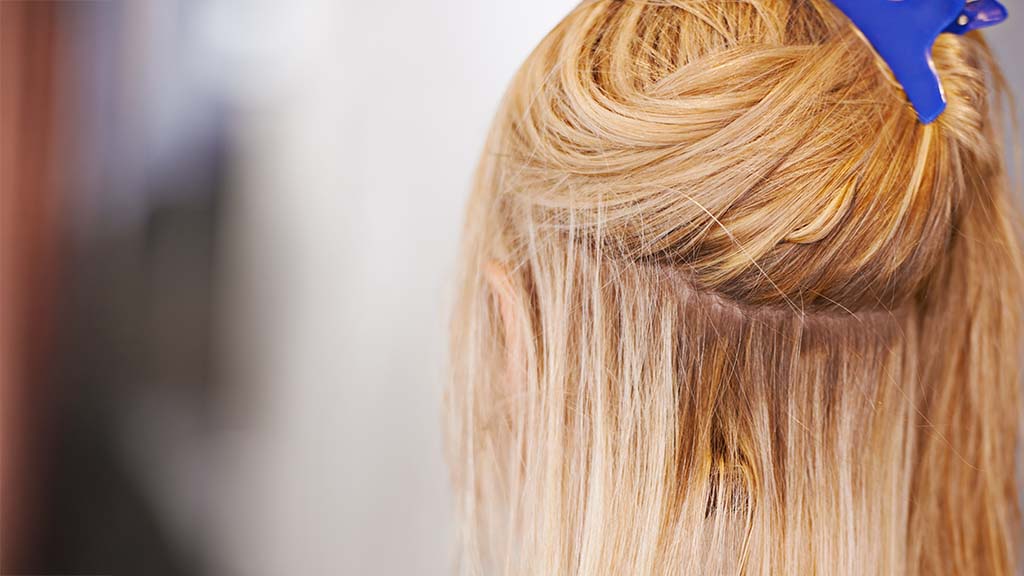
Why do you need to remove tape-in hair extensions after 4-6 weeks?
As your natural hair grows, the extensions may need to be repositioned or re-taped to maintain that seamless look. Leaving tape-in hair extensions longer than the expected maintenance cycle will make it extremely hard to remove the adhesive.
Typically, tape-in extensions should be re-tapped every 4-6 weeks. This maintenance helps prevent the extensions from weighing down and pulling on your natural hair. Once the tape starts to loosen or the extensions become uneven, it’s time for a re-tape.
How long can you keep retaping the tape-in extension?
Depending on the quality of the tape in human hair extensions (3A, 4A, 5A, or 6A), you can reuse them for up to a year or until there is still a good quantity of hair left on the pairs of tape used for hair extensions. Remember, each time you remove the tapes, there will be some hair shedding.
How to reapply the tape-in extensions:
Let's walk you through the simple steps of reapplying the tape-in extensions to ensure they look flawless and stay put. This will add a sprinkle of fun to your hair game and keep those tresses looking their best!
Supplies to get:
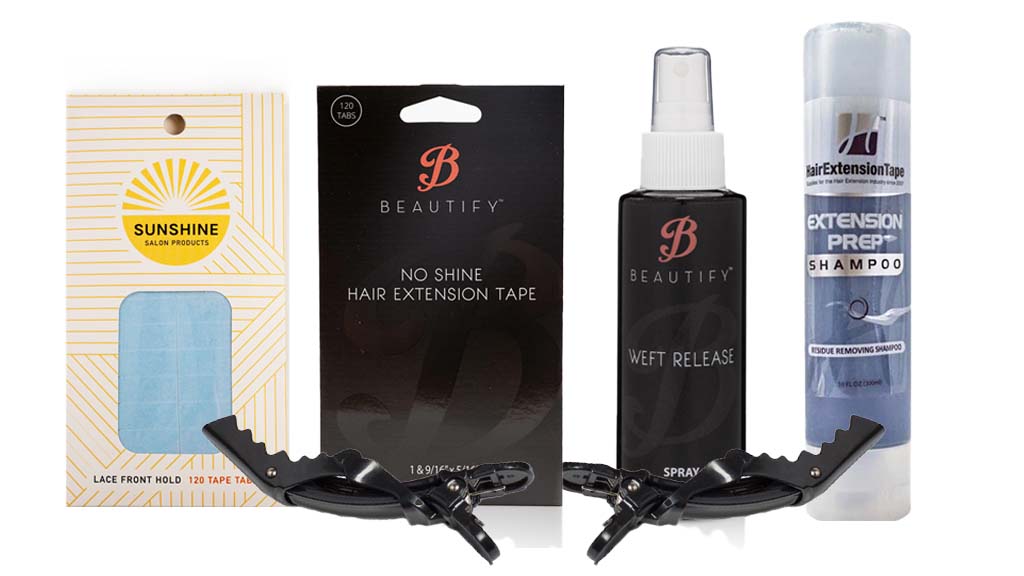
- Walker Extension Release
- Walker Extension prep shampoo
- Croc Clips
- Superhairpieces Extension Tape Tab
1. Prepping for Re-install
Always start with clean hair. Wash the tape in hair extensions with an extension shampoo like the Extension Prep Shampoo, formulated explicitly for residue-removing purposes. This will help remove any dirt, product build-up, and residue from the tape. Starting the reinstall process with clean hair also allows better adhesion for a lasting hold.
2. Clean the Extensions
Washing the extension is not enough to clean off the residue and provide a clean base for re-adhesion.
Start by laying the extensions flat with the sticky side facing up. Remove the old tape tabs by applying Hair Extension Release to dissolve the adhesive. Make sure to saturate the area and rub the remover into the adhesive. After a few minutes, you can start peeling off the tape. If you find any areas still too sticky, apply more remover and use a gift card or credit card to gently swipe away the excess residue.
To eliminate any oily residue or remaining adhesive, put a drop of dish soap on the tab and work it in. Then, wash the hair extensions with wig-friendly shampoo and conditioner. Allow them to dry completely before applying new tape tabs.
3. Re-apply Tape Tabs on tape-in extensions
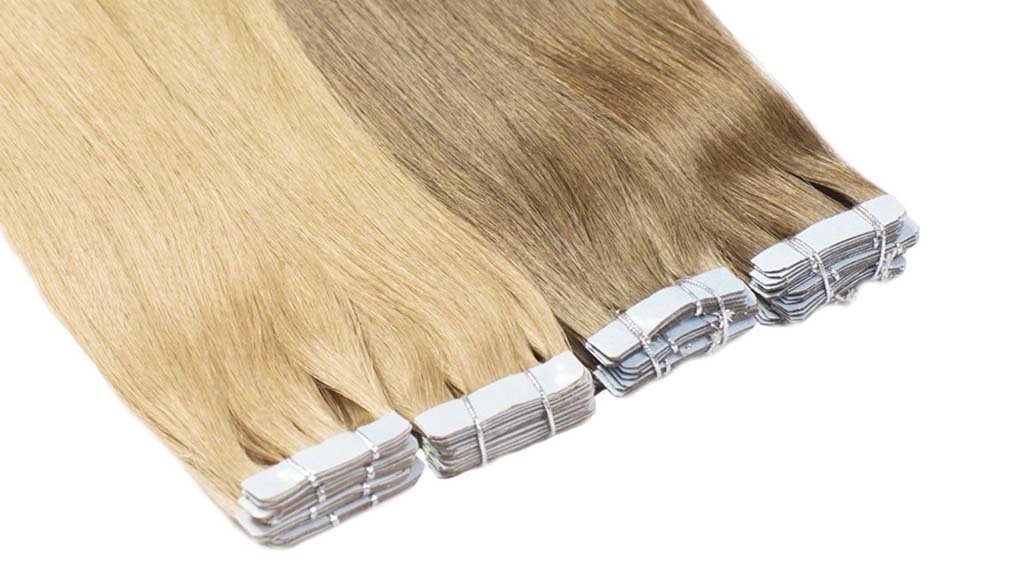
Once the cleaning is done and the hair extensions are completely dry, you’ll want to reapply tape on the tabs. Superhairpieces offers pre-cut tabs specifically designed for our hair extensions.
Just pull off the backing and apply it to the tab. When you are ready to apply it to clean and dry hair, you can remove the other side of the tab to attach it.
Alternatively, you can use No Shine Extension Tape Tabs. Just pull off one of the tape tabs from the page and carefully apply it where the original tape was. You can also cut around the tape beforehand to ensure it fits the extensions. Remember to keep the other side of the tape tab until you’re actually reapplying the extensions.
4. Brush the hair
After reapplying the tape tabs, the final step is to brush out the tape-in hair extensions gently but thoroughly so that they are ready to be one with your natural hair. Brush your natural hair, too, and when you’re ready, reinstall the tape-in hair extensions as always. Then, brush them together for a well-blended look.
And that’s it! You now know how to reinstall tape-in hair extensions by yourself. Enjoy the beauty and feel of luxurious lengths with tape in human hair extensions.
Happy long hair days!

 Likes
Likes


